Making a burger at home requires about $30 to $150 in essential equipment to get started, depending on whether you’re going for budget basics or investing in tools that’ll last a decade. Most home cooks already own some of these items — a skillet, a spatula, a mixing bowl — so the real question is what’s actually worth buying versus what you can hack with stuff you’ve already got.
Look, I’ve been down this rabbit hole. I bought a fancy burger press once, used it twice, and it’s been collecting dust ever since. Meanwhile, my $12 cast iron skillet gets used multiple times a week. The trick is knowing where to spend and where to save.
Let’s break this down by budget level and what each tool actually does for your burger game.
The Core Three: You Can’t Skip These
Every burger, whether you’re cooking for yourself or a crowd of twenty, starts with three non-negotiable tools. Without these, you’re not making burgers — you’re making sad, misshapen meat blobs.
A heavy-bottomed skillet or griddle is your MVP. Cast iron is the gold standard here because it holds heat like a champ and gives you that beautiful, crusty sear. A 12-inch Lodge skillet runs about $25-35, and it’ll outlive your grandchildren. If you’re cooking on an induction cooktop, make sure it’s compatible — some cast iron pans have rough bottoms that can scratch glass tops.
A thin, flexible metal spatula — not a flimsy plastic one — is absolutely critical. You need something that can slide under a burger without tearing it apart. For smash burgers especially, a stiff offset spatula or a fish spatula works wonders. Budget about $8-15 for a good one.
A large mixing bowl for combining your meat with seasonings and shaping patties. Stainless steel is ideal because it’s lightweight, doesn’t absorb odors, and you can chill it in the fridge for keeping meat cold. A 3-quart bowl runs about $10-12.
💡 Money-Saver Tip: Skip the fancy burger press. Use the bottom of a small saucepan or a mason jar lid wrapped in plastic wrap to shape perfect patties. Works just as well and costs nothing extra.
The Mid-Tier Upgrade: Worth Every Penny
Once you’ve got the basics down, these tools will take your burgers from “pretty good” to “holy cow, where’d you learn to cook?”
A digital instant-read thermometer is the single best investment you can make. Undercooked burgers are a food safety risk, and overcooked ones are a tragedy. A Thermapen or similar runs about $25-35, and it’ll save you from serving hockey pucks or raw meat. Aim for 160°F for ground beef, though some folks prefer 155°F if they’re using high-quality meat.
A flat griddle plate that fits over your stovetop burners gives you that diner-style cooking surface. You can get a decent one for $30-50. The advantage? Even heat distribution and a massive cooking area. You can do four patties at once, plus toast the buns right on the same surface.
A meat grinder attachment for your stand mixer (or a standalone grinder) opens up a whole new world. You control the grind size, the fat content, and the meat blend. A KitchenAid attachment runs about $50-60. Freshly ground chuck with 20% fat makes for ridiculously juicy burgers.
A bacon press or burger weight — about $15-20 — helps you get that perfect smash burger crust. You press down hard on the ball of meat, hold it for 10 seconds, and you get those lacy, crispy edges. It’s a game changer.
🔥 Pro-Level Advice: Don’t flip your burger more than once. Let it cook undisturbed for 3-4 minutes on the first side. That’s how you develop a proper crust. Flipping multiple times just steams the meat and ruins the texture.
The Pro Setup: For Serious Burger Nerds
If you’re thinking about opening a food truck or just really, really love burgers, this is where things get serious.
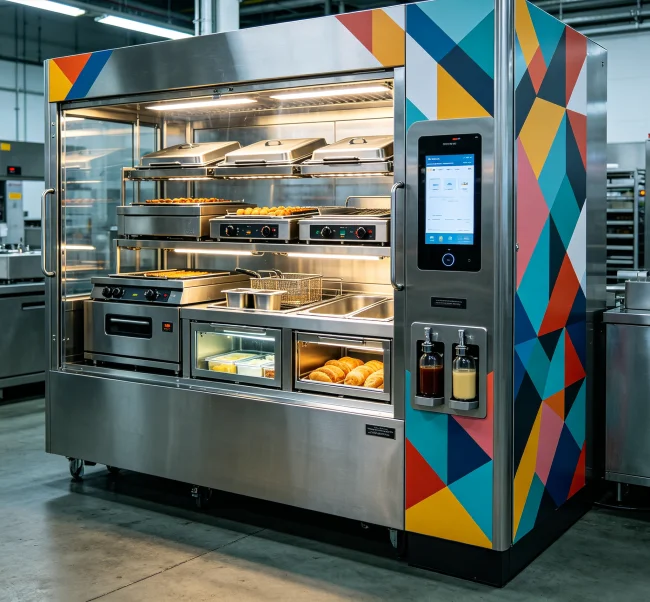
A commercial-grade flat-top griddle like a Blackstone or Camp Chef runs $200-400 for a 22-inch model. These things are incredible — massive cooking surface, precise temperature control, and you can cook burgers, eggs, and pancakes all at once. Perfect for backyard parties or small-scale commercial use.
A deli-style slicer for uniform toppings. About $100-200 for a decent home model. You’ll get perfectly thin onions, tomatoes, and cheese every time. It sounds excessive until you’ve had a burger where every slice of tomato is exactly the same thickness.
A vacuum sealer for bulk meat prep. You can buy ground beef in bulk when it’s on sale, portion it into patties, and freeze them for months. A FoodSaver runs about $80-120. The bags are an ongoing cost, but you’ll save money on meat overall.
A commercial meat grinder with separate coarse and fine plates. These start around $150 and go up to $500+. If you’re grinding your own meat regularly, the extra power and durability are worth it.
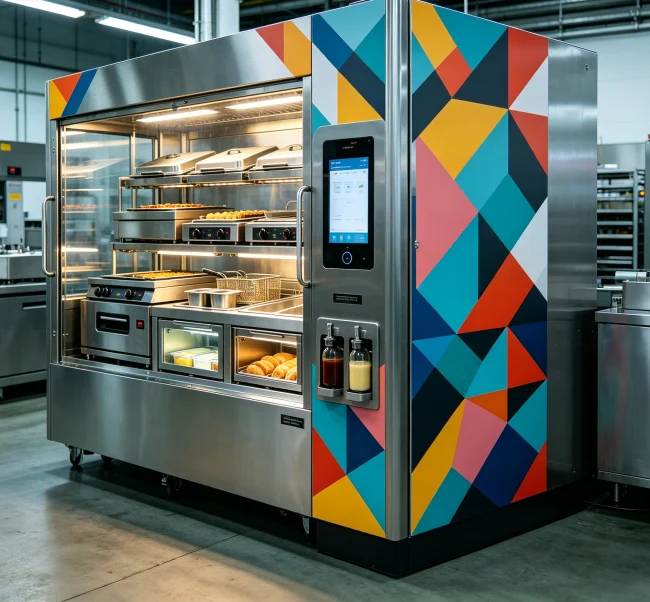
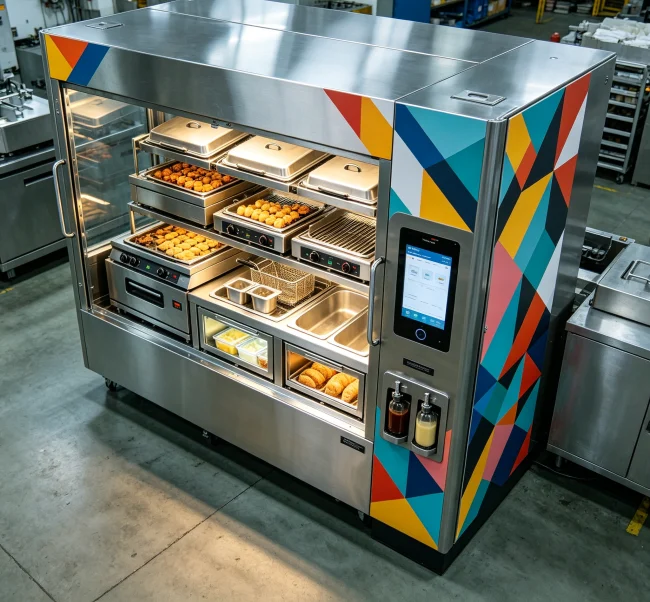
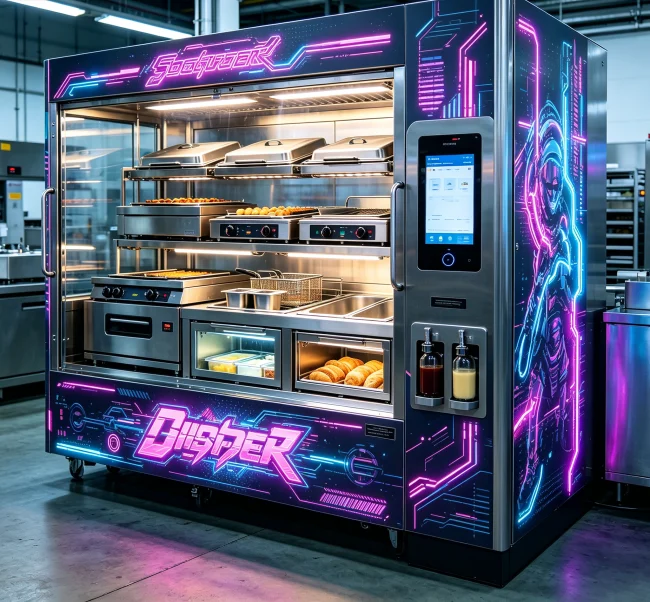
⚙️ Smart Investment: If you’re running a small burger operation — like a food truck or pop-up — look into modular equipment from suppliers like VendingCore. They offer commercial-grade griddles and prep stations that balance cost with durability. Contact them for custom setups that match your specific menu and volume needs.
Common Mistakes People Make With Burger Equipment
Let me save you some money and frustration. Here’s what I see people messing up all the time.
Using non-stick pans for burgers. Non-stick coatings can’t handle the high heat needed for a proper sear. You’ll end up with gray, steamed patties. Stick with cast iron, carbon steel, or stainless steel.
Buying a burger press that’s too small. Most home burger presses make 4-ounce patties. That’s fine for sliders, but for a proper quarter-pound burger, you need a 4.5-inch diameter press. Check the specs before you buy.
Ignoring the importance of a good spatula. That thin, flimsy one that came with your non-stick pan set? It’ll bend and struggle. Get a proper metal spatula with a wide, angled face. Your burgers will thank you.
Overlooking bun toasting equipment. You need something to toast your buns — either the griddle surface or a separate pan. A untoasted bun gets soggy and falls apart. It’s a small step that makes a huge difference.
⚠️ Critical Warning: Never use a fork to press down on a burger while it’s cooking. That releases all the juices and leaves you with a dry, sad patty. If you need to flatten it, use a spatula — gently.
The Complete Equipment Checklist
Here’s a quick-reference list organized by priority level. Print this out, take it shopping, and you won’t miss a thing.
Essential (Under $50 total):
Recommended ($50-150 total):
Pro Level ($200+ total):
📋 Quick Checklist: Before you start cooking, lay out your skillet, spatula, thermometer, mixing bowl, and cutting board. That’s your minimum viable setup. Add the griddle plate and burger weight for smash burgers. Everything else is nice-to-have, not must-have.
How to Clean and Maintain Your Burger Equipment
Your tools will last longer and perform better if you take care of them. Here’s the quick version.
Cast iron: Never use soap. Scrub with coarse salt and a paper towel, rinse with hot water, dry immediately, and rub with a thin layer of oil. Store in a dry place.
Griddles: While still warm, scrape off food residue with a bench scraper. Wipe with a damp cloth, then apply a thin layer of oil. Season regularly like cast iron.
Spatulas and mixing bowls: Most are dishwasher safe, but hand washing preserves the finish. Dry immediately to prevent water spots.
Meat grinders: Disassemble completely after each use. Wash all parts in hot, soapy water. Dry thoroughly before reassembling. Lubricate moving parts occasionally with food-grade mineral oil.
Thermometers: Wipe the probe with alcohol wipes after each use. Store in a protective case. Replace batteries annually.
The Bottom Line
You don’t need a professional kitchen to make incredible burgers at home. Start with the core three tools — a good skillet, a proper spatula, and a mixing bowl — then add the thermometer and griddle plate when you’re ready to level up. Skip the gimmicky gadgets and invest in tools that’ll actually improve your cooking.
And if you’re thinking about taking this to the next level — running a pop-up, a food truck, or even a full restaurant — that’s where commercial-grade equipment really matters. Companies like VendingCore specialize in setting up burger operations with the right gear for your volume and budget. They can help you figure out what you actually need versus what’s just shiny and tempting.
Remember: the best burger equipment is the stuff you’ll actually use. Don’t buy a meat grinder if you’re only cooking once a month. Do buy a good thermometer if you want consistently perfect results. Start simple, cook a lot, and upgrade as you go.