Home / burger vending machine / What Equipment Do I Need for a Burger Restaurant? The Complete Cost & Setup Guide

What Equipment Do I Need for a Burger Restaurant? The Complete Cost & Setup Guide

What equipment do I need for a burger restaurant? You’re looking at a core investment of $40,000 to $120,000+ for a complete commercial kitchen setup, depending on your scale and whether you buy new or used. That’s the big number, but it’s not just about money—it’s about building a system where every piece of gear, from the grill to the fridge, works together to turn out great food, fast. Get this wrong, and you’ll face daily chaos, safety issues, and wasted cash. Get it right, and you’ve built the engine of a profitable business.

What equipment do I need for a burger restaurant?

Let’s break down that ecosystem, not as a simple shopping list, but as a functional blueprint for your operation.

Think of your kitchen as a production line. Equipment needs to support a smooth flow: receive ingredients, store them safely, prep them efficiently, cook them perfectly, assemble orders quickly, and serve them hot. Your layout and equipment choices are all about minimizing steps and maximizing speed between these stages. A cramped prep area or a fryer placed too far from the assembly station can kill your efficiency during a lunch rush.

You’re not just buying appliances; you’re designing a workspace.

💡 Key Takeaway: Before listing gear, sketch your kitchen workflow on paper. Identify bottlenecks before they happen in real life.

The Essential Equipment Checklist: Category by Category

The Essential Equipment Checklist: Category by Category

1. The Cooking Station: Your Profit Center

This is where the magic happens—and where you’ll spend a big chunk of your budget.

  • Grills/Griddles: This is your main workhorse. You’ll typically choose between a flat-top griddle (perfect for smash burgers, pancakes, and eggs) and a charbroiler (for those classic char-marked patties). Many successful spots use one of each. Don’t cheap out here; a reliable, even-heating commercial grill is non-negotiable.
  • Deep Fryers: For fries, onion rings, and chicken tenders. Get a high-capacity, double-basket fryer to handle different items and maintain oil temperature. Consider an energy-efficient model—your utility bill will thank you.
  • Cheese Melter/Salamander: A small but crucial overhead broiler that perfectly melts cheese onto burgers without overcooking the patty.
  • 2. The Cold Station: Protecting Your Inventory

    Food safety starts here. This isn’t your home fridge.

  • Reach-In Refrigerator & Freezer: You’ll need separate units. A standard 2-door reach-in fridge for daily ingredients and a 1-door freezer for frozen goods are typical starting points. Look for NSF certification.
  • Prep Table with Refrigerated Base: This combo unit is a space-saver. The top is your work surface for building burgers and prepping veggies; the base chills your toppings (lettuce, tomato, cheese, sauces) right where you need them.
  • 💡 Critical Info: Always buy NSF-certified refrigeration. It’s the industry standard for safety and durability, and health inspectors look for it.

    3. The Prep Station: The Backstage Area

  • Food Processor/Slicer: For shredding lettuce, slicing tomatoes and onions uniformly, and making coleslaw. A commercial-grade model saves hours of labor.
  • Meat Mixer & Patty Former: If you’re grinding and forming your own patties, this duo ensures consistency and speed. For smaller operations, you might source pre-formed patties initially.
  • Sinks: You are legally required to have a dedicated 3-compartment sink for washing, rinsing, and sanitizing utensils/equipment, plus a separate hand-washing sink. Factor this into your plumbing plan.
  • 4. Assembly, Holding & Service

  • Bun Toaster: A conveyor toaster gives you perfectly toasted buns at a steady pace.
  • Heat Lamps & Warming Drawers: To hold cooked patties and assembled burgers for a minute or two before pickup without them going cold.
  • Countertop Equipment: Drink dispensers, milkshake machines, and ice makers fall under this category. Don’t forget the point-of-sale (POS) system—it’s the brain of your front-of-house.
  • 5. Support & Safety: The Non-Negotiables

    This is where startups often underestimate costs.

  • Ventilation Hood System: This is massive. A Type I hood over your cooking equipment is required by code. It must be professionally sized (measured in CFM) for your specific grill and fryer output. Installation is complex and expensive but unavoidable.
  • Fire Suppression System: An Ansul system is installed within your hood to automatically extinguish grease fires. It’s law.
  • Grease Trap: Required for your drainage system to prevent FOG (fats, oils, grease) from entering public sewers.
  • 💡 Practical Advice: Get quotes for your hood and fire system early. It’s often the largest fixed installation cost after the equipment itself.

    Planning, Layout & Procurement: Your Roadmap to Success

    Here’s where most guides stop, but this is where your real decisions happen.

    Kitchen Layout Templates: Think in terms of space. A compact, efficient kitchen for a 500 sq ft fast-casual spot looks completely different from a 1,500 sq ft full-service restaurant with a bar. The goal is to create a tight “triangle” between cold storage, prep, and cooking, with assembly and pass-out windows as the final point.

    The Budget Reality: Good, Better, Best

    Here’s a rough breakdown. Remember, these are for equipment only—not installation, plumbing, electrical, or the hood system.

    Equipment Category Good (Used/Entry-Level) Better (Mid-Range New) Best (Premium New)
    Cooking (Grill, Fryer) $5,000 – $8,000 $10,000 – $15,000 $18,000 – $25,000+
    Refrigeration $3,000 – $5,000 $6,000 – $10,000 $12,000 – $18,000
    Prep & Smallwares $2,000 – $4,000 $4,000 – $7,000 $7,000 – $10,000
    Estimated Total $10k – $17k $20k – $32k $37k – $53k+

    New vs. Used Equipment: Buying used from a reputable dealer can slash costs by 40-60%. It’s a fantastic option for items like refrigeration and prep tables. However, for your primary grill and fryer—the heart of your kitchen—the reliability and warranty of new equipment is often worth the investment. Leasing is another option to conserve upfront capital.

    💡 Caution: Never buy used equipment without a technician’s inspection. A $3,000 “bargain” fridge with a dying compressor is a money pit.

    Beyond the Heavy Metal: Don’t Forget These

    Your equipment list is useless without the “smallwares”: spatulas, tongs, portion scoops, food pans, thermometer, cutting boards, and a mountain of sheet trays. Also, factor in your initial supply order: boxes of gloves, sanitizer, cleaning chemicals, paper goods, and takeout packaging. And of course—permits. Your local health department will have a specific checklist that your equipment and layout must satisfy before you can even turn on the grill.

    Finding the Right Suppliers

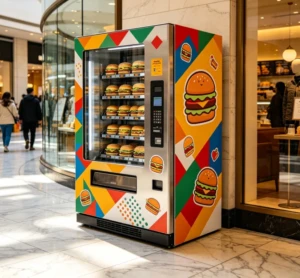
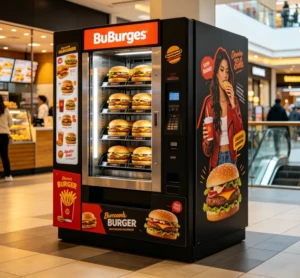
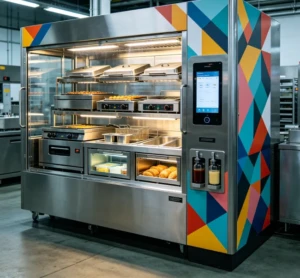
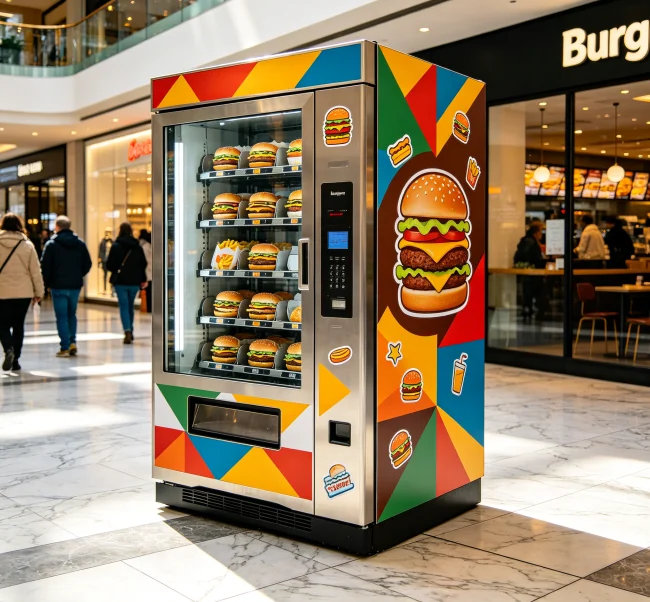
    Sourcing all this isn’t like online shopping. It involves finding reliable suppliers, comparing specs, and arranging logistics. For entrepreneurs sourcing specialized equipment—like if you were adding a high-tech custom burger vending machine to your concept for a satellite location—the process requires connecting with qualified manufacturers who understand commercial food safety and tech integration. In such niche cases, professional sourcing services with deep manufacturer networks can be invaluable, cutting through the noise to find partners that meet specific technical and certification standards.

    With a well-planned kitchen, efficient operations can lead to a solid ROI, often within 3-6 months for a well-located, busy burger joint. The key is viewing equipment not as an expense, but as the foundation of your brand’s quality and speed.

    Frequently Asked Questions (FAQ)

    A

    The commercial grill or griddle. It defines your cooking method (smash vs. charbroiled), capacity, and ultimately, the quality of your core product. Never compromise on its quality or size. A weak grill will bottleneck your entire operation during peak hours.

    A

    Absolutely not. Residential appliances aren’t built for 8-12 hours of continuous, high-heat use daily. They’ll break down quickly, lack necessary safety features, and will almost certainly violate health codes and void your insurance. Commercial-grade equipment is a mandatory investment.

    A

    A bare minimum for a takeout-focused model is about 300-400 square feet. A comfortable, efficient kitchen for a full-service spot typically needs 600-1,000 sq ft. Layout efficiency matters more than raw square footage—a well-designed 500 sq ft kitchen can outperform a poorly laid-out 800 sq ft one.

    A

    It depends on your volume and delivery frequency. If you have high weekly sales or receive bulk shipments a few times a week, a walk-in is essential. For smaller operations with daily produce deliveries, large reach-in refrigerators and a walk-in freezer for frozen goods might suffice initially.

    A

    Build a relationship with a local commercial kitchen repair service before you open. Schedule regular preventative maintenance (especially for refrigeration and fryers) and keep a small cash reserve for unexpected repairs. Downtime on key equipment means lost sales.

    A

    The most important is NSF (National Sanitation Foundation) certification for anything that touches food or water. Also look for UL (Underwriters Laboratories) for electrical safety. These are benchmarks of compliance with public health standards.

    A

    For your primary grill, lean towards new if your budget allows. You get a full warranty, modern energy efficiency, and reliability. For secondary equipment like a backup fridge or a prep table, buying used from a certified dealer is a much safer and smarter cost-saving move.

    The biggest mistake I see new restaurant owners make is buying equipment in isolation, without a holistic plan. That $8,000 grill is a paperweight if your ventilation hood isn't powerful enough to handle it, or if your electrical service can't support its draw. Always start with a comprehensive plan that includes your local health and building codes, utility requirements, and a realistic workflow. Your equipment dealer should act as a consultant, not just a salesperson. The right setup, planned properly from the start, is what turns a chaotic kitchen into a profitable, smooth-running machine.

    Michael Rossi
    Commercial Kitchen Designer & Consultant, 15+ years experience

    Ready to Start Your Project?

    Contact us for professional advice and customized solutions

    Contact Now

    Asher

    Technical expert in smart vending solutions and IoT-enabled retail automation. Providing in-depth reviews and comparisons to guide businesses toward the best technology choices.

    Leave a Comment

    Your email address will not be published. Required fields are marked *

    Table of Contents
    0%
    VendingCore
    Privacy Overview

    This website uses cookies so that we can provide you with the best user experience possible. Cookie information is stored in your browser and performs functions such as recognising you when you return to our website and helping our team to understand which sections of the website you find most interesting and useful.